If you’ve ever relied on a camper slide out awning during a rainy night in Wyoming’s Wind River Range or under the blazing sun at Utah’s Cathedral Valley Campground, you already know its value. When the backcountry delivers unpredictable weather, this small but mighty upgrade can turn your trailer into a secure, comfortable basecamp—even after a 15-mile hike to Lake Catherine or a rugged traverse across Idaho’s Sawtooth ranges.
What Is a Camper Slide Out Awning and Why It Matters
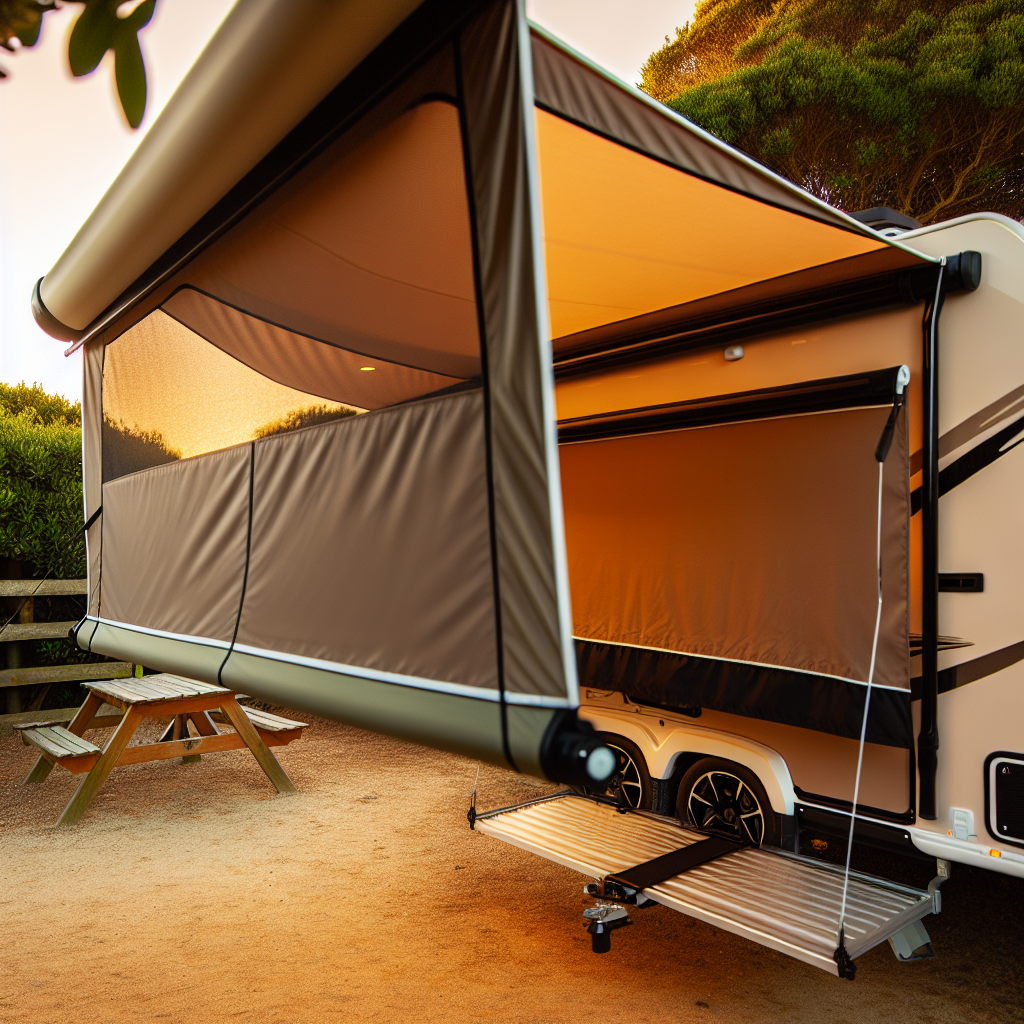
A camper slide out awning is a secondary awning that installs directly above the slide-out portion of your RV or trailer. Slide-outs increase your interior living space, but they also expose horizontal surfaces that can collect rain, pine needles, ice, and debris. Campers stationed near Colorado’s Crested Butte or Big Bend’s remote desert loops know how quickly nature can take advantage of that opening.
These awnings operate much like roll-up window awnings—automatically extending and retracting with the movement of the slide. This addition plays a critical protective role by blocking water, limiting mold buildup, and preventing jammed retractions from accumulating debris. For weekend adventurers and full-time nomads alike, keeping your setup functional in unpredictable mountain or desert weather is key.
How to Choose the Right Camper Slide Out Awning
Choosing the right camper slide out awning for your travels requires attention to terrain and weather patterns. From Oregon’s coastal winds to desert UV exposure, each environment poses unique challenges:
- Wind Resistance: In high-altitude camps like along the Blue Ridge Parkway, strong gusts are common. Choose awnings with reinforced fabrics and durable tension springs to stay secure.
- UV Protection: For desert adventures around Joshua Tree or the Mojave, look for UV-resistant and mildew-proof coatings. Sun damage severely shortens fabric lifespan.
- Weatherproofing: For wet forests like Alaska’s Tongass or Washington’s Alpine Lakes, opt for models with built-in debris guards and drainage features to prevent pooling or sagging fabric.
Manufacturers like Dometic, Lippert, and Carefree of Colorado offer both standard-size awnings and custom lengths. Always measure the width and projection depth of your slide-out before ordering. Many kits also include hardware for remote installations—ideal for parking near Glacier’s Many Glacier Campground or Montana’s Bitterroot wilderness.
Installing a Camper Slide Out Awning
Installation can be a DIY-friendly project with the right tools and preparation. Whether you’re parked in Zion’s Kolob Canyons or posted up near Bozeman, a smooth install protects your rig for seasons to come. Here’s a streamlined step-by-step process:
- Gather Tools: Use a ladder, drill, torque wrench, sealant tape, and stainless steel fasteners for weather-resistant results.
- Mount Brackets: Locate them above the slide-out flange. Mark drill spots with painter’s tape to avoid damaging your RV’s finish.
- Install the Roller Tube: Position the awning tube level across the slide with help from a friend or a jack stand.
- Attach Side Covers: These house the tension springs and protect the internal mechanics. Use manufacturer-specific torque settings.
- Test Movement: Extend and retract the slide several times to ensure there’s no drag, misalignment, or interference.
Professional installation typically costs between $300 and $600, but if your rig is already set up near Flagstaff or you’re awaiting a gear delivery on the road, DIY lets you save money and get rolling sooner.
Using Your Camper Slide Out Awning in Tough Conditions
Proper use of your camper slide out awning ensures its longevity and boosts your rig’s performance. From high winds to sudden hailstorms, use these field-tested tips to stay prepared:
- Use Caution in Wind: Never operate the slide when winds hit the side of your rig directly—especially in exposed areas like Roan Highlands or White Sands.
- Clear Debris First: Before retracting, sweep pine needles or grit from the top. Even light debris can damage the mechanism over time.
- Clean Regularly: Prevent mildew and staining with a vinegar-water solution. Always dry fabric completely to avoid mold.
- Monitor Forecasts: Retract the awning if high winds, ice, or storms are expected—this protects both the fabric and the slide system.
Accessories like tie-down kits and rain deflectors can improve awning performance. These small additions make a big difference during foul weather or multi-day stays deep in the wilderness.
Insights From Full-Time Campers and Road Warriors
Seasoned travelers across the country agree: a well-installed camper slide out awning enhances the camping experience. Lisa Tran, a ridgerunner near Beartooth Pass, shares, “Before our awning, we’d get freezing water pooling overnight. Now our seals stay dry and intact.”
The Jolley family, traveling across Utah’s Grand Staircase–Escalante, notes the time savings. “After long hikes like Zebra Slot, we’re tired. Not sweeping off the slide every time we leave camp? Huge win.”
Solo adventurer Marco Rivera echoes the usefulness: “I camp often near Idaho’s Frank Church Wilderness. The awning reduces my breakdown time and keeps things cleaner when I’m remote.”
Your Camper Slide Out Awning: A Backcountry Essential
Whether you’re dry camping in the Sonoran Desert or tucked beneath the pines in Olympic National Park, a camper slide out awning is more than an upgrade—it’s a vital part of your wilderness kit. It minimizes cleanup, protects your setup, and adds peace of mind wherever you travel.
Preparing your rig with the right components ensures you’re ready for anything, from afternoon thunderstorms in the Rockies to windstorms in the high deserts. An awning reduces campsite chaos, so you have more time for what matters: trails, sunsets, and sleeping under the stars.